For Photographers – Finding Your Editing Style
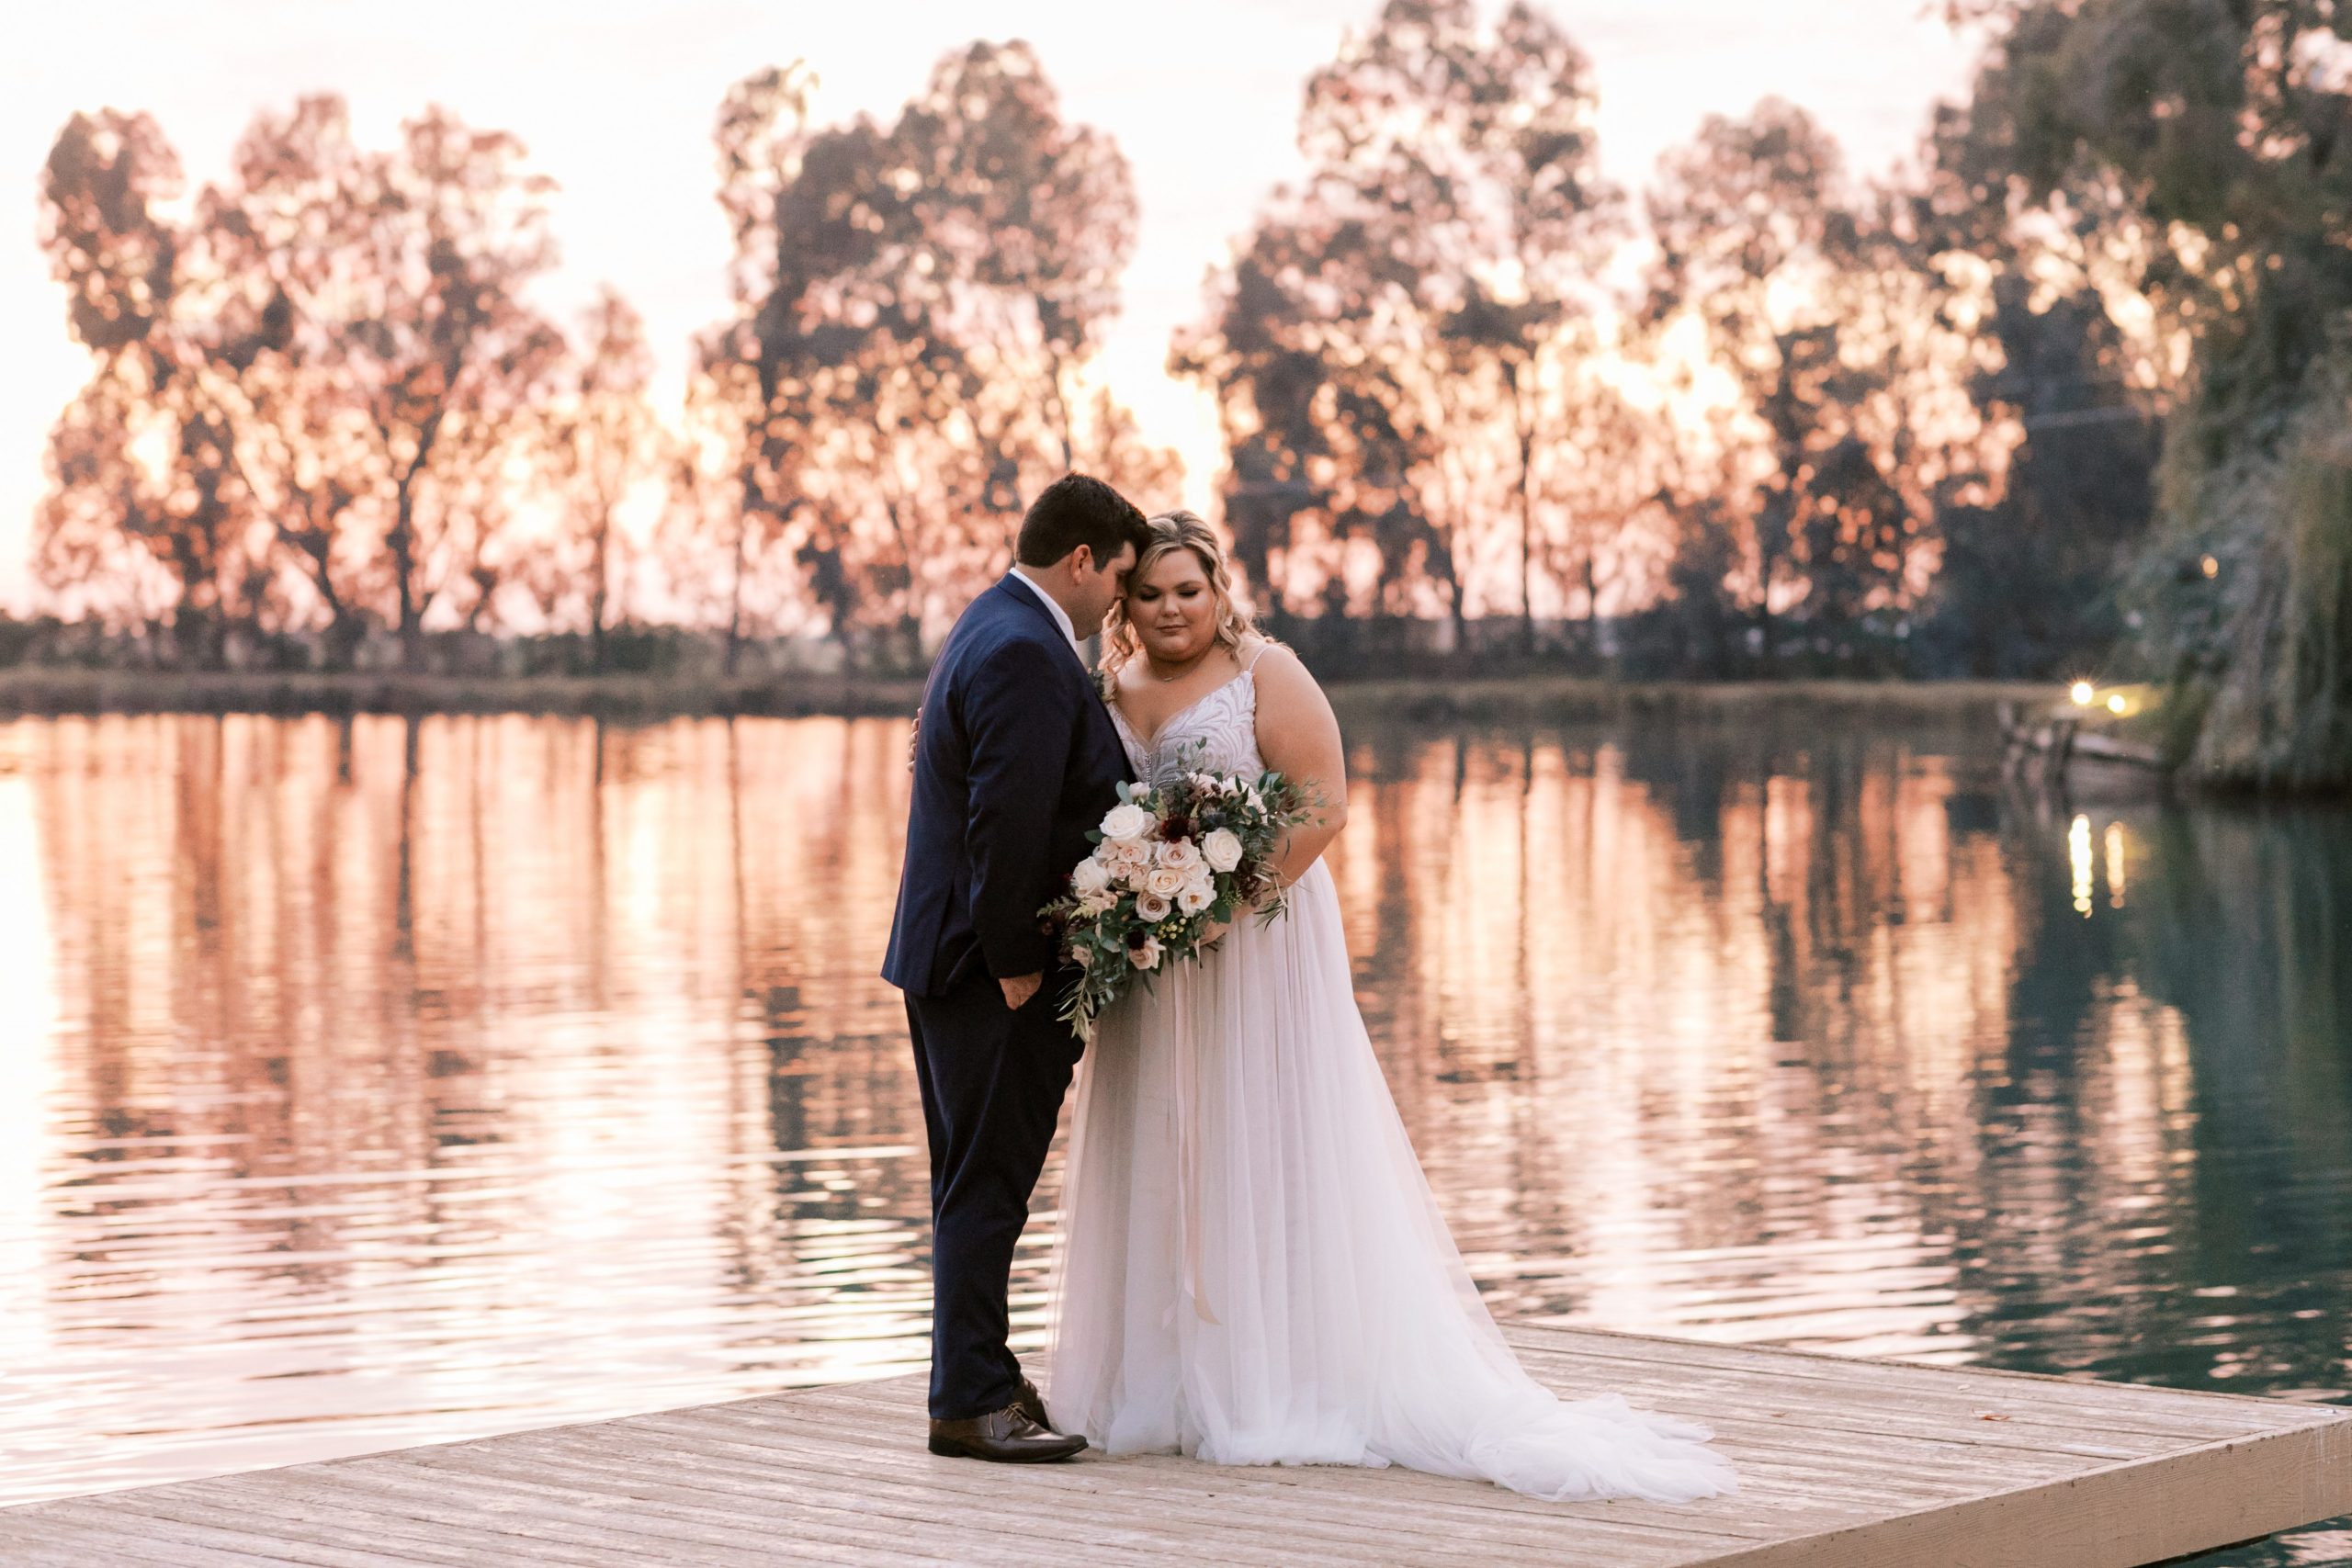
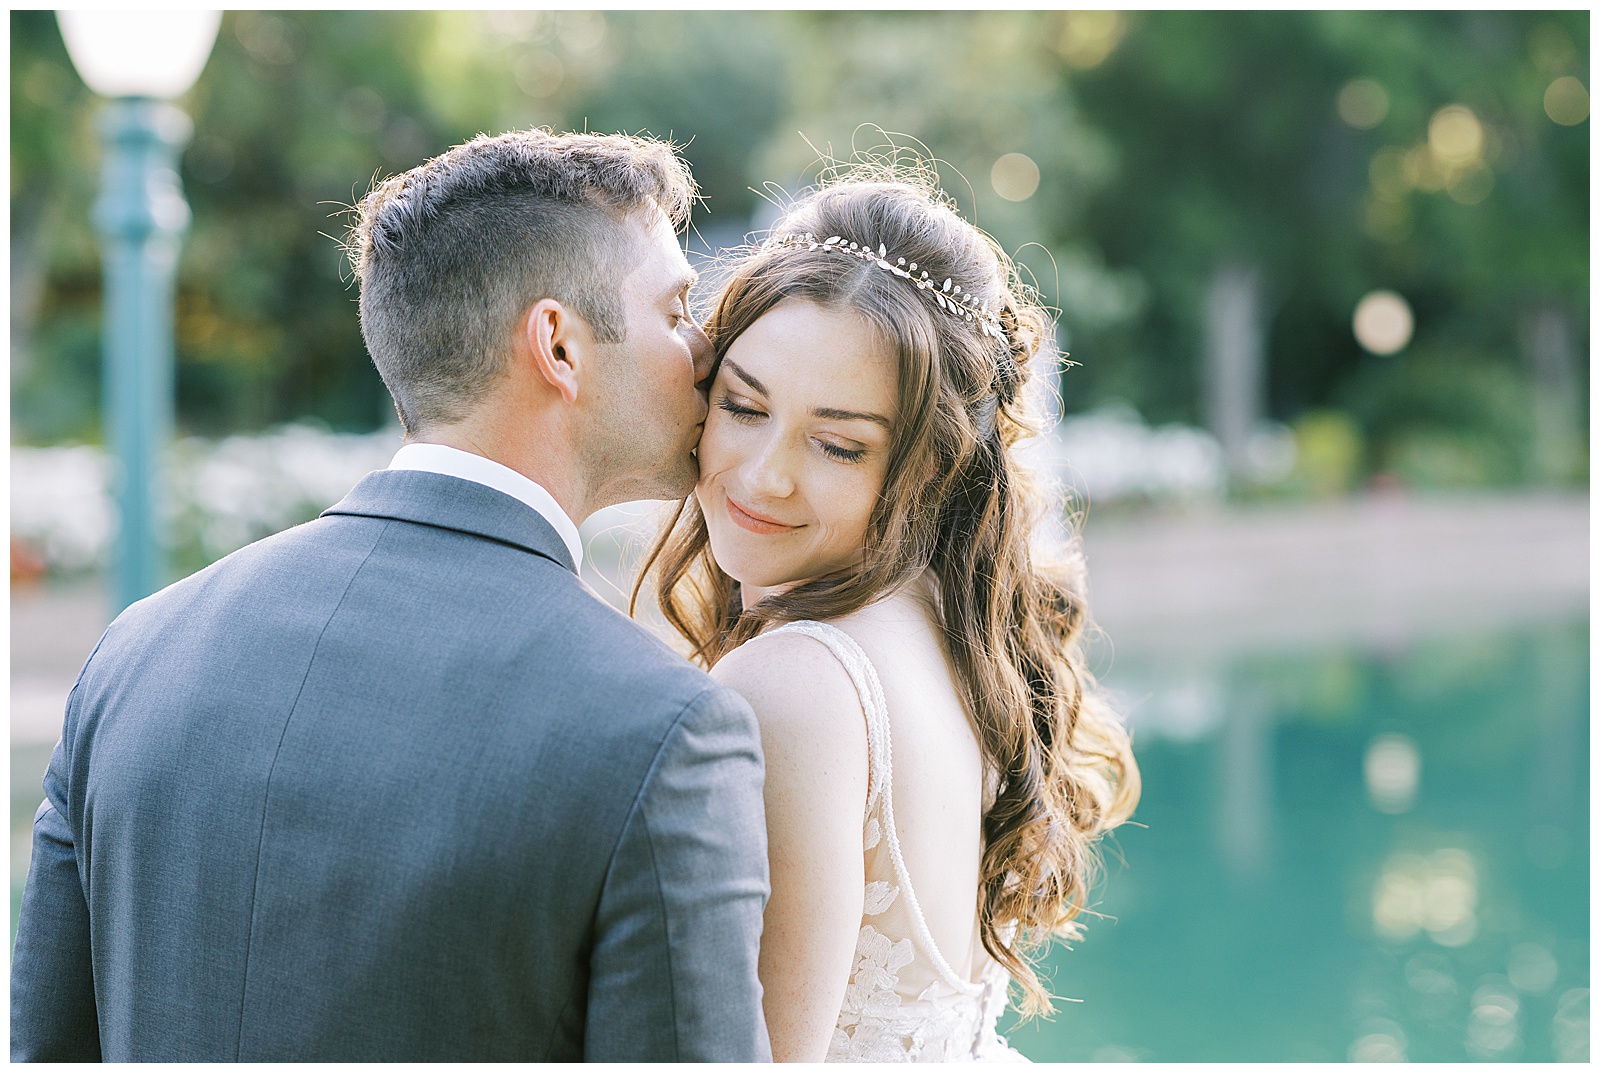
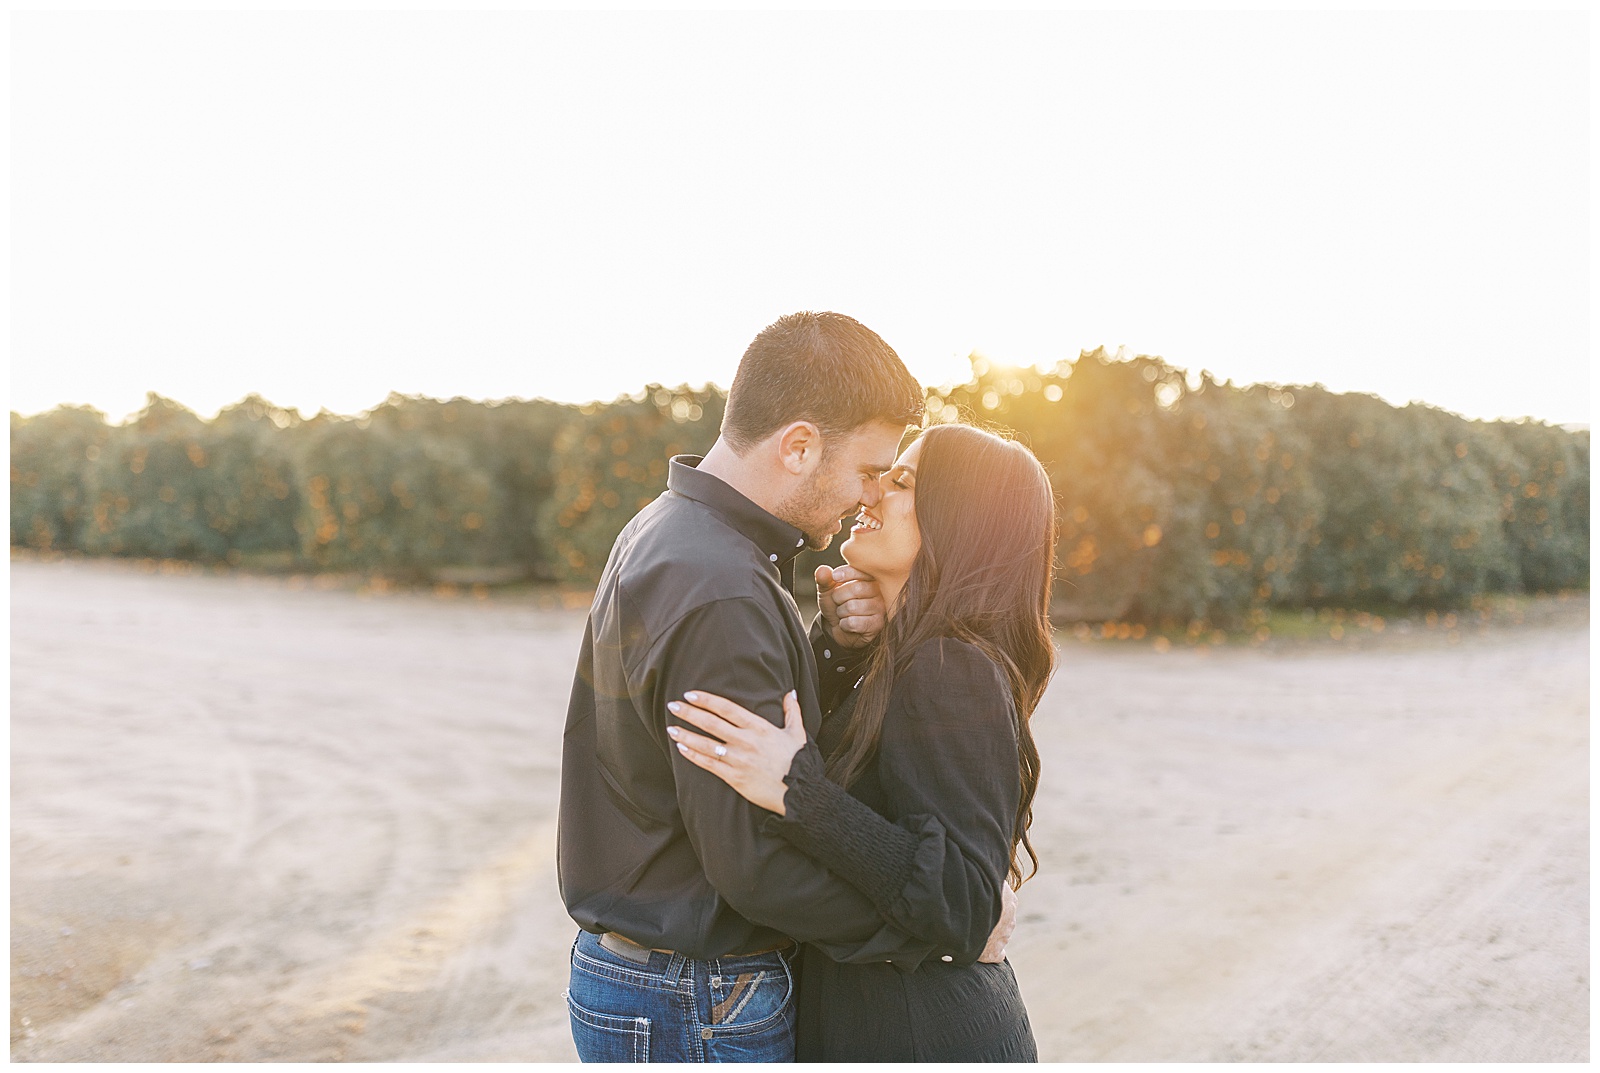
Finding your editing style with photography was one of the most challenging, and rewarding parts of my journey thus far. I knew when I began my business what I wanted to achieve. I didn’t feel like the style I was aiming for really fit into a category. It wasn’t quite light and airy, but I definitely wasn’t dark and moody either. I wanted bold colors, warmth that made you feel the energy, and rich shadows defining the moment. Styles come and go, and I never want my clients looking back to think, “Why did we want our photos edited like this?”
So I knew what I wanted, but getting there was a whole other journey. I always felt like something was missing. I bought and tried out so many presets, just hoping they would get me closer to my goal. Nothing was getting me there, and I was feeling uninspired and lost.
It took me a lot of playing around in Lightroom, adjusting settings, adjusting the way I shot the images SOOC (straight out of the camera) and practice to get where I wanted to be.
So, how do you find your editing style?
Make a Pinterest board!
This was the most helpful tool I used, because it created the inspiration I needed to get my images where I wanted them. Your editing style is what defines you work. I wanted images that when clients see them, they know they’re mine. So search for and pin images that emulate what you’re going for. Pin images that INSPIRE you.
Now, grab a piece of paper and take some notes. What do you like about an image? What is it about their editing style you love? Is there something you would do differently? Are the images too warm or too cool for what you want? How about the skin tones – do they look natural, or are they orange? What three words would you use to classify their editing style? How do you WANT to classify YOUR editing style?
All of these things are important factors when considering where you want to take your style. 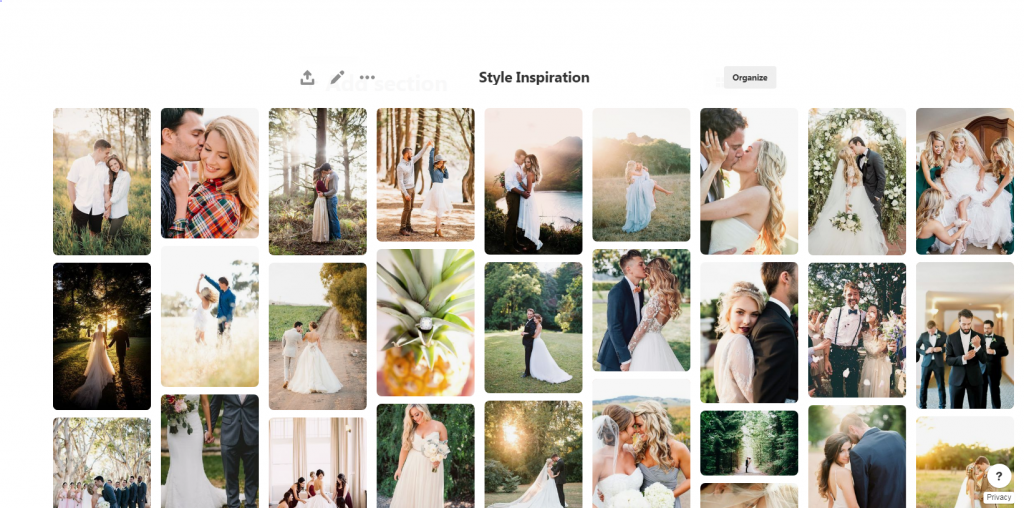
Here’s a little peek at my #inspo board. I wanted to create images that were true to color. Warmth is also important to me because it makes the subjects look and feel ALIVE. I’m drawn to bold colors, rich shadows, and soft light. My aim is to achieve bright, rich, natural and warm images.
Play around with different settings when you shoot
Getting the image right in camera is going to help you in post-production, so play around with your settings. I’m a control freak, so I shoot full manual 99% of the time (because I can control EVERYTHING!) If you tend to over-expose when you shoot and bring it down in post, try under exposing. And make a mental note that under-exposing may be a better option. Recovering shadows is much easier than trying to rescue a blown highlight. Sometimes it’s impossible to recover a blown highlight, and with a lot of white wedding dresses to photograph, NOT blowing highlights is kind of important.

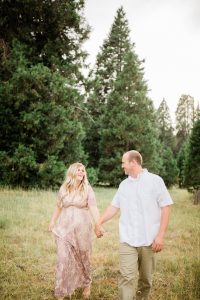
SOOC – 35mm 1.4 – 1/1600 Edited with Mastin Fuji Original
Manual white balance is your friend.
This is definitely something I see photographers go back and forth on with what’s better. For me, manual white balance is the key to ensuring all my other settings are as close to what I want in camera. I like to see the colors right where I want them; now I can adjust my shutter speed and ISO accordingly. And remember I said I like it warm? So I shoot with my Kelvin at about 6000 when I’m outdoors. Indoors, I’m around 5000. I only make an adjustment if I absolutely have to, and getting the shot as close to perfect in camera is really important.
Practice, practice PRACTICE!!!
I cannot stress this enough. If you’re just starting out and you have only a couple sessions a month and that’s the only time you’re using your camera, it’s going to take you a looooong time to get where you want to be. You have to be holding your camera, practicing with your settings, playing with different light and SHOOTING! How can you hope to improve if you don’t get out there and shoot? Experiment, try the same things again and see what works. Just do it!
Remember what I said earlier; nailing a shot in camera is important. If you’re shooting and hoping to recover the image later on, you aren’t putting your best foot forward. Getting that perfect shot as close to perfect when you take the shot takes practice.
And if you want to practice with someone that has experience shooting in all types of lighting situations, check out my mentor session options! You and I can create the perfect, stylized shoot specifically for your photography style. You can ask questions, get lighting tips, ask me about camera settings and practice posing on real people AND get great images for your portfolio! Check out the investment here.
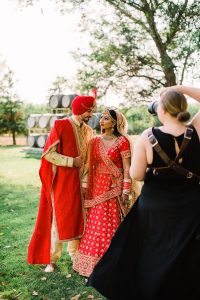
Wanna check out some different presets?
Here are some popular presets for different styles!
Light & Airy: Kindred Presets, Noble Presets, Mastin Fuji Original
Dark & Moody: Mastin Portra Pushed, Dirty Boots, Dawn Charles
Presets are fun, but it takes work to make them work for you! Don’t expect to purchase a preset to solve all your problems. They make excellent starting points, but defining your style is the most important step towards achieving consistency in your work.
Got questions? Ask me below!

